
Part 1: Testing the Connection From the Rain Gauge to the Field Unit
The Observant C3+ or Solo+ field unit confirms input pulse detection by flashing its input-port LED indicator for several seconds whenever a pulse is received, provided the unit is placed in "visit mode."
Step 1: Put the Field Unit into Visit Mode
Locate the power button on the front fascia of the C3+ or Solo+ field unit.
-
Touch or press the power button briefly.

Verify that the LEDs on the fascia "wake up" and illuminate. The units play a little wakeup tune when prompted via the ON button.
Step 2: Generate a Test Pulse
Choose one of the following methods to trigger a pulse:
Method A (Water simulation): Pour a small quantity of clean water into the rain gauge funnel.
Method B (Manual tip): Remove the top funnel assembly of the rain gauge and manually tip the internal bucket mechanism back and forth once.
Step 3: Observe the Input-Port LED Indicator
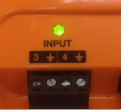
Check the corresponding input-port LED on the field unit fascia:
Pulse Detected (Pass): The input-port LED flashes continuously for 3 seconds. This confirms a valid, working electrical and signal connection between the rain gauge and the field unit.
-
No Pulse Detected (Fail): The LED does not flash. This indicates the field unit did not register the pulse.
-
Troubleshooting Checklist:
Check for loose, disconnected, or damaged cabling between the rain gauge and the field unit terminals.
Ensure the signal and ground wires are landed in the correct input port terminals (e.g., Davis Rain Gauge signal wire to Input 1/2/3/4 and ground wire to the associated ground terminal).
Inspect the rain gauge reed switch to confirm it is intact and functioning mechanically.
-
Part 2: Checking the Rain Gauge's Accuracy
Follow these steps during commissioning or routine site maintenance to confirm physical calibration and reporting accuracy:
Step 1: Verify Mechanical Level
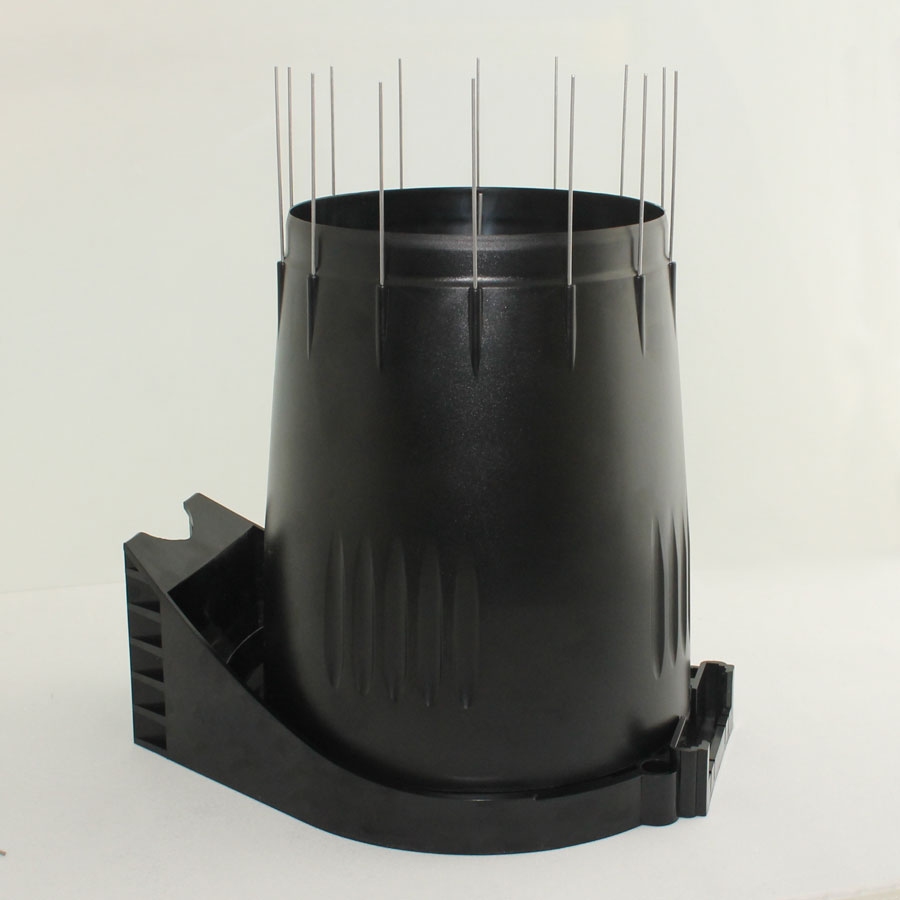
Access the base plate of the installed rain gauge. Please refer to the manufacturers Davis 7857 Rain Collector — User Manual.
Inspect the built-in bubble level on the base plate.
Adjust the mounting screws or bracket until the bubble is centered, ensuring the unit is completely level.
Step 2: Perform the Measured Water Pour Test
Measure exactly 544 ml of clean water into a pouring container.
Pour the water steadily and slowly into the rain gauge collector over a full 2-minute duration. Avoid dumping the water too quickly to prevent funnel splashing or bucket overrun.
Step 3: Verify the Data in Observant Global
Log in to the Observant Global software platform.
Open the Monitor application and locate the Monitor Card for your rain gauge or weather station site.
Allow up to 30 minutes for the logged data to transmit and process.
-
Verify that the recorded rainfall reading increases by 25.4 mm.
Links